
Screen printing looks simple from the outside. Ink goes on a shirt. But a clean, lasting print comes from a handful of steps that most people never see. Here’s how your design gets from a file to a finished tee.
1. The screen
Every ink color in your design gets its own screen. The screen is a fine mesh stretched over a frame and coated with a light-sensitive layer. Your artwork is exposed onto it, and the areas where ink should pass through wash out, leaving an open stencil of your design.
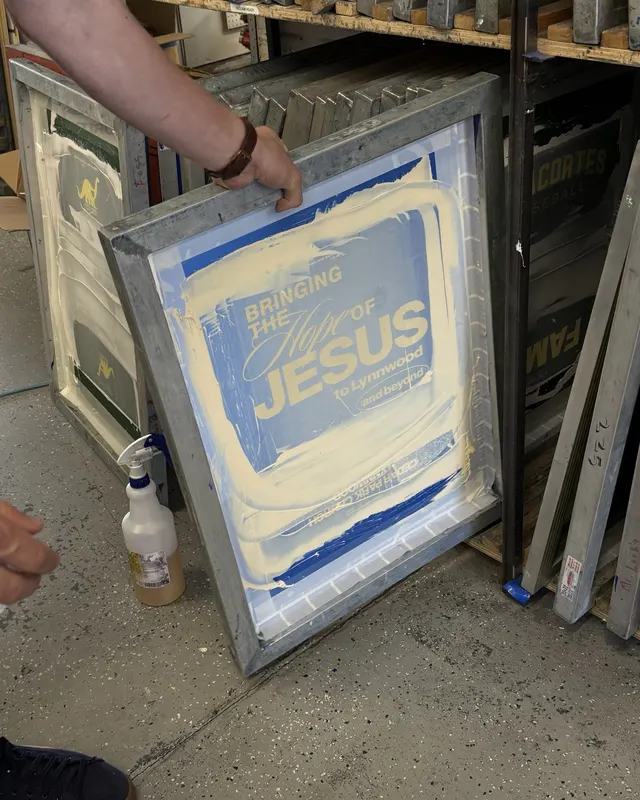
This is why screen printing has a minimum. Making and setting up screens takes time whether you print 24 shirts or 400. It’s also why the price per shirt drops as the order grows: the setup is spread across more pieces.
2. The ink
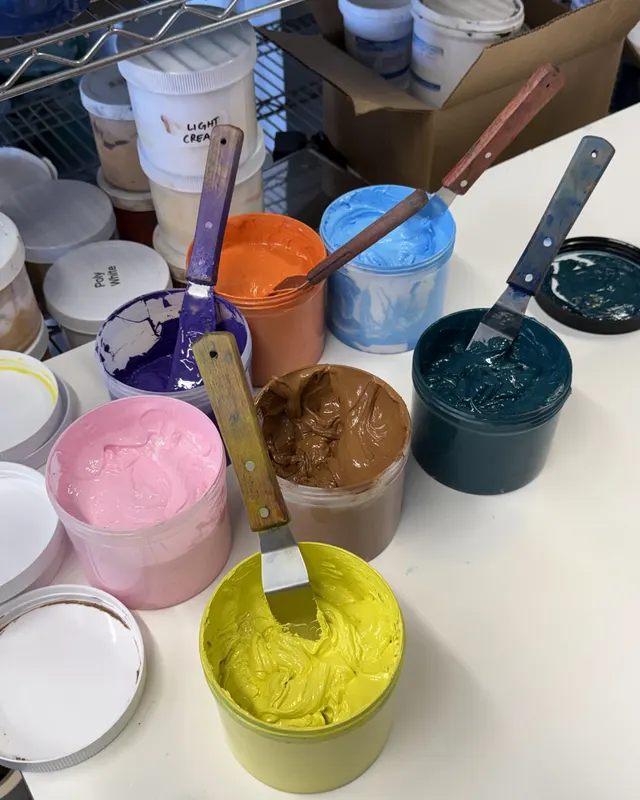
Inks are mixed to match your colors. If your brand uses a particular purple or a certain shade of blue, this is where it gets matched, before anything touches a shirt.
3. The press
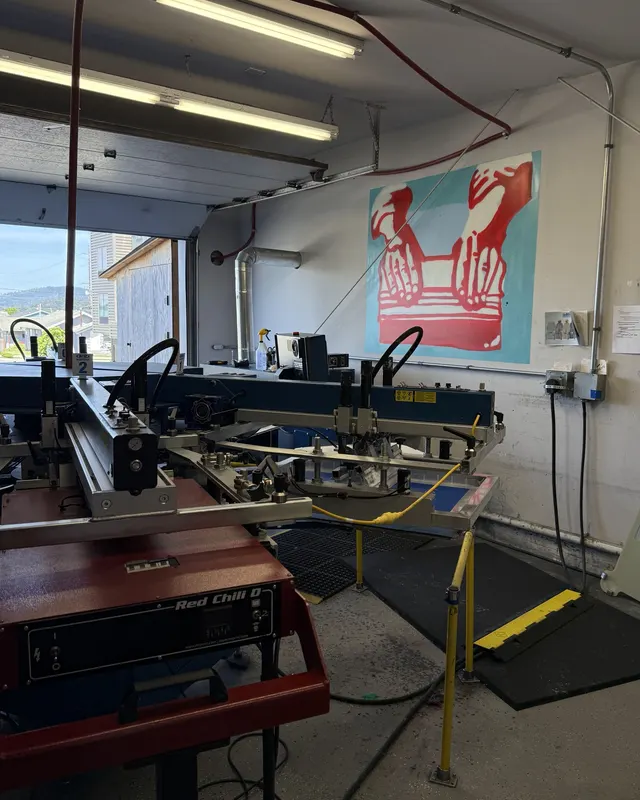
The screens are locked into the press and lined up so each color lands exactly where it should. A squeegee pushes ink through the open mesh and onto the garment. For a two-color design, the shirt passes under two screens, one after the other.
4. The cure
Fresh ink is not finished ink. Each shirt runs through a dryer that heats the ink until it bonds with the fabric. A properly cured print holds up wash after wash. An under-cured one cracks and fades, which is the most common reason cheap prints fail.
Designs with one to four solid colors print best and cost least. Screen printing starts at 24 pieces, and needs 12 pieces for every ink color in each print location. For photos, gradients, or smaller orders, heat transfers are usually the better fit and start at 6.
Want the fuller comparison? See how screen printing compares with embroidery and heat transfers.
Have a design in mind?
Send it over and we’ll tell you the best way to print it. Free quote in 24 hours.
Get a Free Quote ->